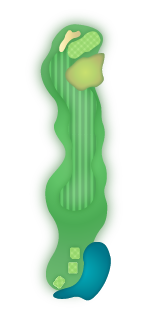
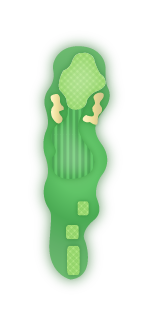
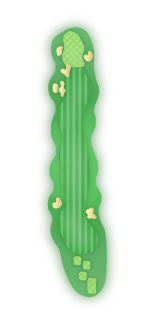
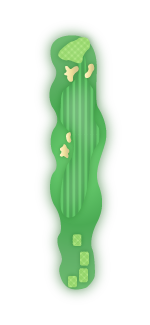
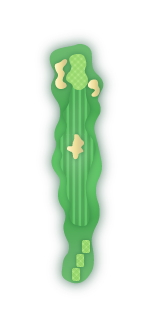
Crooked Oaks
The Crooked Oaks course, designed by Robert Trent Jones, Sr., is a 6,780-yard, par 72 course that winds through marsh, maritime forests and moss-hung, century-old live oaks.
Holes: 18 | Par: 72 | Rating: 72.9 | Slope: 137 | Yardage: 6,780
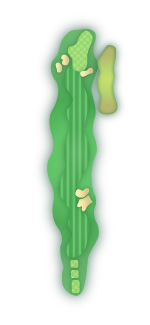
A wide landing area for the tee shot, the approach to this narrow green can be visually intimidating with dunes on the left and right, short of the green. There is little room for error with the approach, as bunkers left and right are hidden by the dunes and approach shots hit too aggressively and going long will leave the player with pitch steeply back to a green that runs away from the player from this angle.
-
Hawk
392 Yds -
Mallard
380 Yds -
Osprey
329 Yds -
Egret
312 Yds -
Finch
257 Yds -
Heron
253 Yds
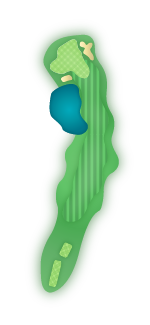
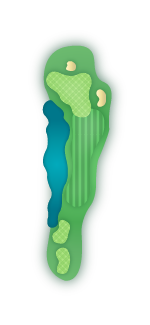
The key to the par 5 second is strategizing how you will play the hole before you strike your tee shot. Doglegging sharply to the right after the drive, it’s important to place your tee shot beyond the trees on the right for an open second. The right corner can be cut, but with a pond guarding the green on the right, it’s a three shot hole for even the most seasoned player and the risk may not be worth the reward. Approaching the green is key, as anything short of the tier running through the front 1/3 of the green will trickle down the slope, leaving a long putt up a steep slope.
-
Hawk
498 Yds -
Mallard
490 Yds -
Osprey
473 Yds -
Egret
448 Yds -
Finch
396 Yds -
Heron
363 Yds
This beautiful par 4 can help you off the tee if one can reach the downward slope in the fairway sloping right to left. However, short of the slope leaves a level stance to a green with precarious bunkers on the left and right.
-
Hawk
407 Yds -
Mallard
375 Yds -
Osprey
366 Yds -
Egret
356 Yds -
Finch
339 Yds -
Heron
294 Yds
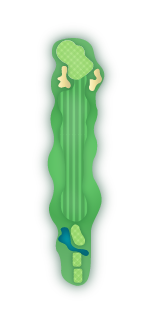
From the tee you’ll see the crooked oak on the left side of the fairway, after which the course is named. Many will be tempted to carry the oak, but with an exceptionally wide fairway, this dogleg left par 4 is more about the right club selection for the second shot. Choose carefully, as the green is narrow and the shot is half a club longer than the yardage indicates and, during many times of year, is blind, hidden by cattails in the marsh short of the green.
-
Hawk
398 Yds -
Mallard
361 Yds -
Osprey
351 Yds -
Egret
336 Yds -
Finch
324 Yds -
Heron
276 Yds
The first par 3 of the day is the most forgiving of the four par 3’s on the course. A mid iron, for many, to a large green is a great opportunity for a “3” on the scorecard.
-
Hawk
173 Yds -
Mallard
157 Yds -
Osprey
139 Yds -
Egret
126 Yds -
Finch
112 Yds -
Heron
109 Yds
A well-positioned second shot on this par 5 can set up a short iron or wedge to a diagonally positioned green well-guarded by bunkers on the left. The green is long, but runs away from the player on back pin placements.
-
Hawk
544 Yds -
Mallard
520 Yds -
Osprey
492 Yds -
Egret
464 Yds -
Finch
432 Yds -
Heron
392 Yds
This demanding par 4 is a challenge for all players, but keeping the ball on the right for the entire length of the hole is important. With a fairway bunker left of the fairway and greenside bunker just short of the green and on the left should cause one to err a little right. The best approach will be a draw into a green that slopes back to front, but feeds to the left and right from the middle.
-
Hawk
426 Yds -
Mallard
400 Yds -
Osprey
388 Yds -
Egret
373 Yds -
Finch
335 Yds -
Heron
282 Yds
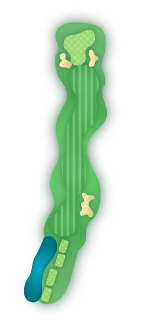
This short par 4 is best played down the right center from the tee, as the right to left sloping fairway will ideally feed your ball to the left side, giving you a relatively level stance to a green guarded by a pond and small bunker on the left.
-
Hawk
375 Yds -
Mallard
355 Yds -
Osprey
336 Yds -
Egret
312 Yds -
Finch
303 Yds -
Heron
272 Yds
The ninth is when the winds you’ve been playing for eight holes begin to change, as you make the turn to head back towards the Island House. A wide, but shallow green awaits, but play the prevailing winds carefully, as the tall pines that line the left and right can hide the winds high above.
-
Hawk
198 Yds -
Mallard
172 Yds -
Osprey
158 Yds -
Egret
140 Yds -
Finch
117 Yds -
Heron
116 Yds
A long par 4 with a pond guarding the front of the green, a layup second shot is nothing to be ashamed of, as an approach slightly miss-hit will find the water, running very close to the edge of the green. For those wanting a green-in-regulation, long is a good miss which still may find the putting surface on this large green.
-
Hawk
410 Yds -
Mallard
396 Yds -
Osprey
370 Yds -
Egret
343 Yds -
Finch
309 Yds -
Heron
265 Yds
This enjoyable par 5 is best played from a tee shot on the right side of the fairway. Tee shots on the left will find a challenging second shot with scattered palmettos left and little fairway to work with on the right. A front pin location gives you a back stop on the approach, but a back pin placement puts club selection and touch at a premium, as anything hit in the middle may funnel backwards to the front of the green leaving a long, uphill putt.
-
Hawk
504 Yds -
Mallard
482 Yds -
Osprey
463 Yds -
Egret
443 Yds -
Finch
402 Yds -
Heron
396 Yds
A soft dogleg left, the twelfth is made for the player with a draw off the tee and with the approach to a deep green. A front or back pin placement could dramatically affect club selection.
-
Hawk
393 Yds -
Mallard
358 Yds -
Osprey
345 Yds -
Egret
323 Yds -
Finch
284 Yds -
Heron
277 Yds
The challenge with this par 3 is evident with water running down the entire left side of the hole and a bunker awaiting shots that bail out to the right. A wide green with back to front slope is receptive to mid irons, long irons and rescue clubs, but will leave a difficult birdie putt if hit above the hole.
-
Hawk
182 Yds -
Mallard
165 Yds -
Osprey
141 Yds -
Egret
127 Yds -
Finch
114 Yds -
Heron
88 Yds
Keeping the ball center right and carrying the ancient sand dunes, now covered by fairway, on the tee shot will leave the player with a mid to short iron approach to a deep green, positioned diagonally right to left. Erring left off the tee makes the approach extremely difficult, as the left bunker and live oak will enter into the equation.
-
Hawk
389 Yds -
Mallard
356 Yds -
Osprey
340 Yds -
Egret
298 Yds -
Finch
282 Yds -
Heron
249 Yds
With a tee shot framed by trees down the left and right, this par 5 is a good test of the third shot, as the green is guarded by deep bunkers short-right and long-left.
-
Hawk
506 Yds -
Mallard
486 Yds -
Osprey
456 Yds -
Egret
442 Yds -
Finch
421 Yds -
Heron
378 Yds

This beautiful par 3 is deceptive, with a false front and steep slope short of the green resulting in a healthy pitch as a second shot, even if the tee shot hits green. Not particularly long with not too much trouble to cloud the mind of the player, the large, sloping green is clearly the challenge.
-
Hawk
162 Yds -
Mallard
148 Yds -
Osprey
132 Yds -
Egret
123 Yds -
Finch
101 Yds -
Heron
96 Yds
Most tee shots will come to rest short of the bunker that splits the fairway of this long par 4. Approach shots can be flown or rolled to the green, which makes the length of this manageable for all skill levels.
-
Hawk
402 Yds -
Mallard
382 Yds -
Osprey
364 Yds -
Egret
354 Yds -
Finch
314 Yds -
Heron
285 Yds
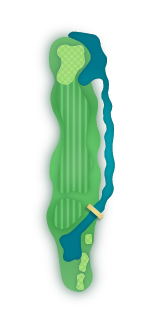
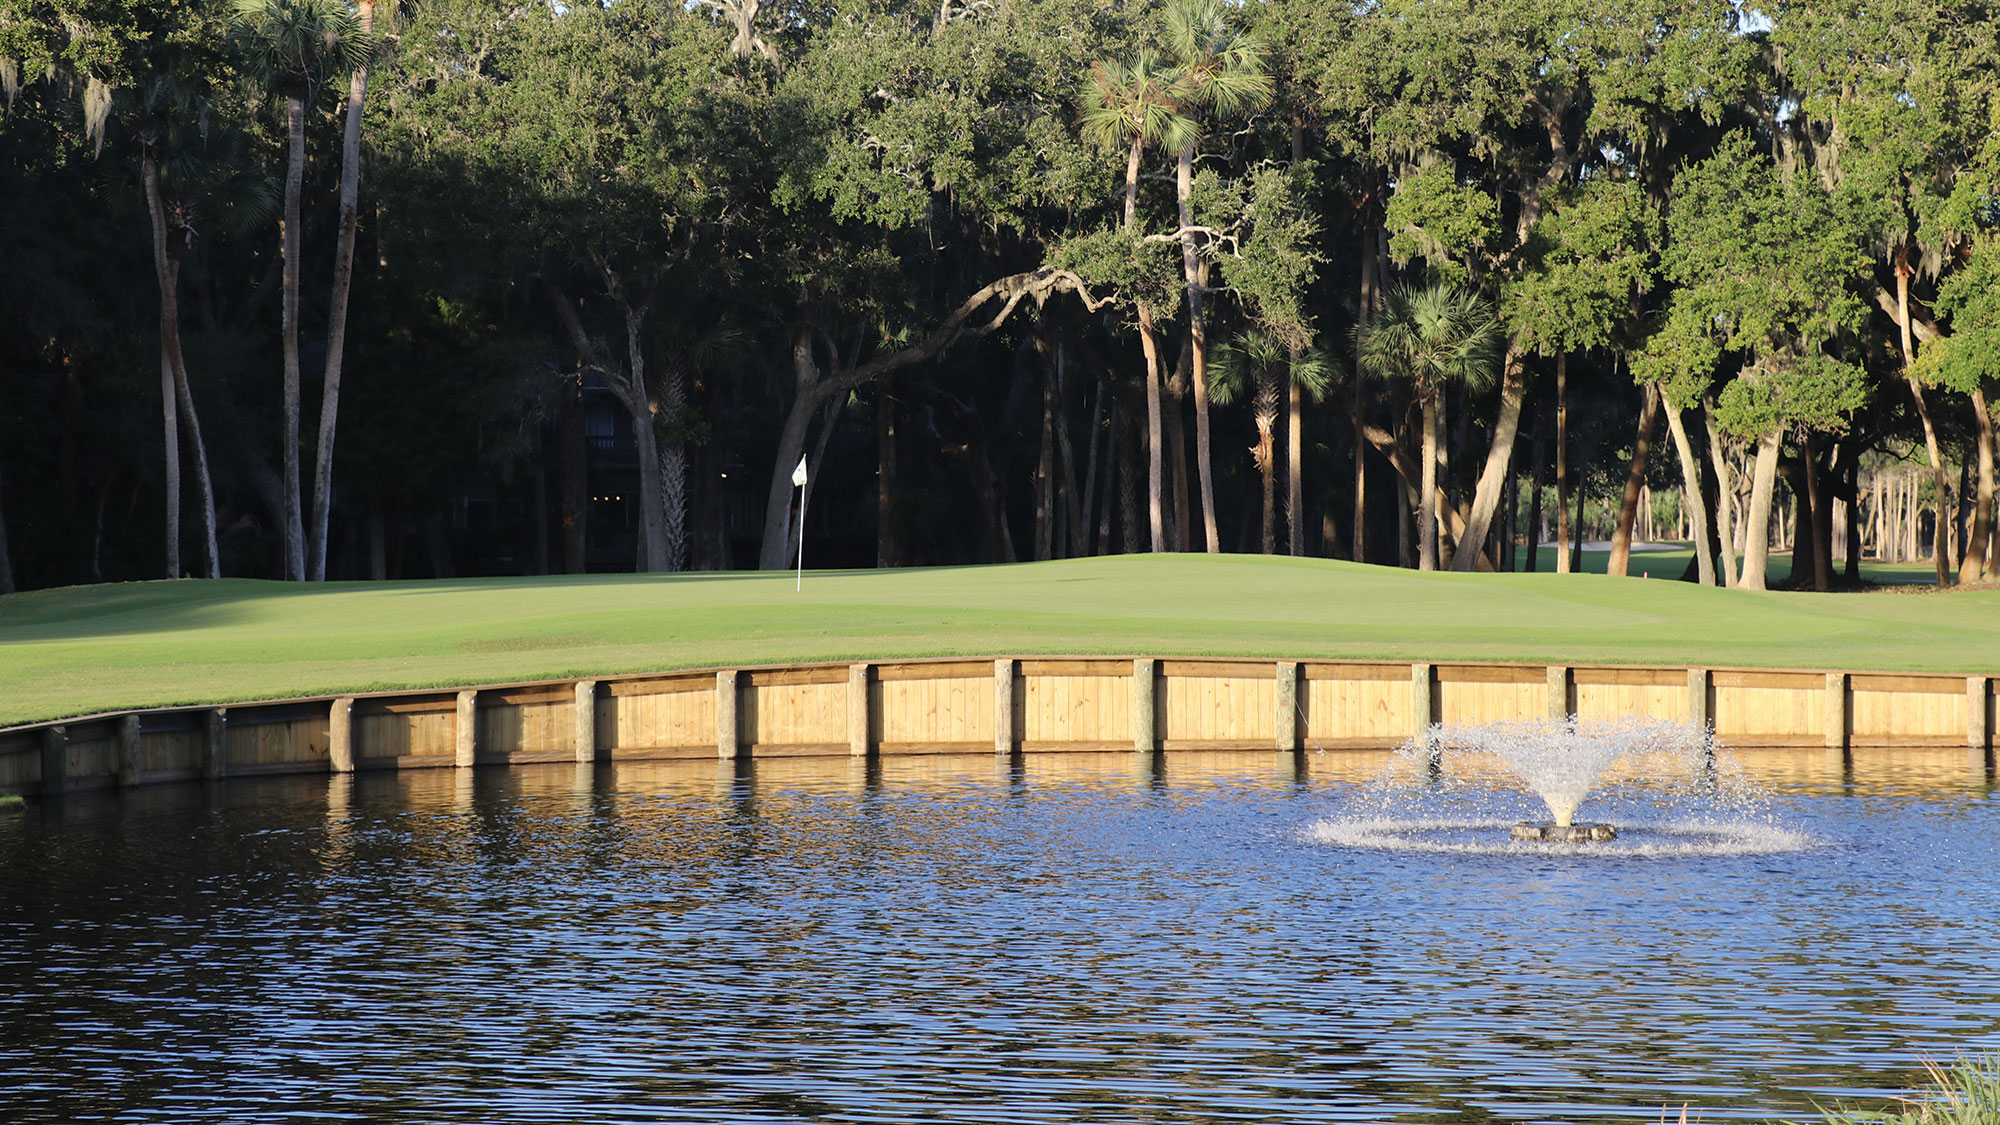
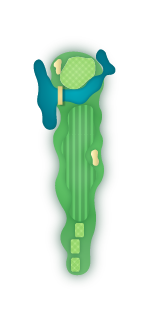
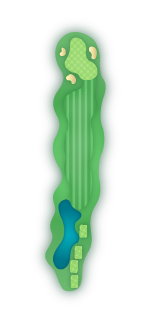
The closing hole with a backdrop of the Island House, is where matches can be won or lost very easily. The tee shot is blind, though straight forward. The second shot is not blind, though you may wish it to be as the water wrapping around three sides of the green make for an intimidating approach with a long iron or rescue club for many players. There is bail out room to the left, though many moguls are there to test even the best short game, but this angle will position the water directly in front of the player, to test the best mental game as well.
-
Hawk
421 Yds -
Mallard
400 Yds -
Osprey
378 Yds -
Egret
354 Yds -
Finch
295 Yds -
Heron
234 Yds
1 | 2 | 3 | 4 | 5 | 6 | 7 | 8 | 9 | 10 | 11 | 12 | 13 | 14 | 15 | 16 | 17 | 18 |
| Hole Numbers | 1 | 2 | 3 | 4 | 5 | 6 | 7 | 8 | 9 | 10 | 11 | 12 | 13 | 14 | 15 | 16 | 17 | 18 | Totals |
| Hawk | 392 | 498 | 407 | 398 | 173 | 544 | 426 | 375 | 198 | 410 | 504 | 393 | 182 | 389 | 506 | 162 | 402 | 421 | 6780 |
| Mallard | 380 | 490 | 375 | 361 | 157 | 520 | 400 | 355 | 172 | 396 | 482 | 358 | 165 | 356 | 486 | 148 | 382 | 400 | 6383 |
| Osprey | 329 | 473 | 366 | 351 | 139 | 492 | 388 | 336 | 158 | 370 | 463 | 345 | 141 | 340 | 456 | 132 | 364 | 378 | 6021 |
| Egret | 312 | 448 | 356 | 336 | 126 | 464 | 373 | 312 | 140 | 343 | 443 | 323 | 127 | 298 | 442 | 123 | 354 | 354 | 5674 |
| Finch | 257 | 396 | 339 | 324 | 112 | 432 | 335 | 303 | 117 | 309 | 402 | 284 | 114 | 282 | 421 | 101 | 314 | 295 | 5137 |
| Heron | 253 | 363 | 294 | 276 | 109 | 392 | 282 | 272 | 116 | 265 | 396 | 277 | 88 | 249 | 378 | 96 | 285 | 234 | 4625 |
| Par | 4 | 5 | 4 | 4 | 3 | 5 | 4 | 4 | 3 | 4 | 5 | 4 | 3 | 4 | 5 | 3 | 4 | 4 | 72 |
Instruction
Our recently renovated state-of-the-art practice facility includes a 40,000 sq. ft. practice tee, an adjacent fairway bunker, 5 target greens, 2 large putting greens totaling over 18,000 sq. ft., and a separate short game area with 3 bunkers, a short fairway and a 3,000 sq. ft. green. Private and group instruction and tournament coordination are also available from our PGA professionals.

Golf Groups & Outings
The Seabrook Island Club offers several organized golf groups which are available to all members, and hosts several fundraising charity events throughout the year.

Contact the Golf Pro Shop
Open daily, 7 AM – 6 PM
Rental guests can book tee times up to 3 days in advance. Rental Rates begin at noon daily.